|
Gas is extremely important for it is one thing that offered energy on our tools and also in every engines that utilizes gas to run. Everyone requires gas in flamethrowers used by the Space Marine teams or by a Land Raider that's nearly vacant. Or a Dreadnought who's dehydrated or a Leman Russ who's all lost consciousness. No matter that you are or what you are, if you have actually obtained gas guzzling heavy assistance and also equipments that need to be refueled, you're gon na need to have a fuel tank. Ideally a fuel tank that simply near as well as nearby. Simply make sure its not also close or it may be a threat of strike and no one wishes to have a fuel tank shrapnels embedded in their jet packs. So after some introductions allows come down on our major schedule. Products:
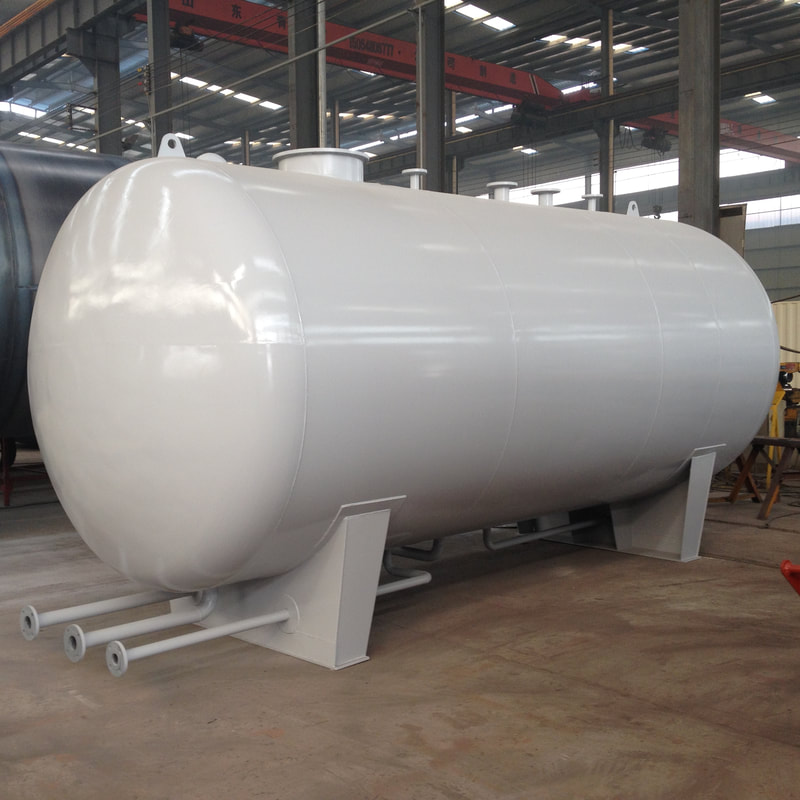 Step 1 Developing the base. There are many different ways and also products that can be use in for the production of the base. Slim timber, Masonite, Polystyrene (Styrofoam) is one of the most prominent of all since it so simple to reduce and it is handy. Foam board is additionally one materials that can be utilize nevertheless as a result of its materials it tends to crinkle as soon as topped as well as repainted. But for this task its far better to utilize the slim timber as our base as a result of its lightness as well as toughness. We used polystyrene (styrofoam) as well as eliminated cinder blocks from it after that stick them with each other on the base. After that base coating all the concrete block in acrylic black, heavily completely dry brushing every one of them in codex grey, as well as light completely dry brushing them in skull white we stuck in some rebar (also referred to as metal wire cut and also penetrated the concrete block). When every little thing remains in place and also already prepared its time to add the fuel tank. Step 2 Adding the fuel tank (can of beans). For an outstanding as well as gorgeous fuel tank storage (I have to differentiate this from a routine fuel tank) Allows use for our fuel tank an empty canister of beans. Since the can is already opened, the various other end is gone, we can mapped the can into an item of foam board for the substitute of the other end that was gone. Cut out the mapped circled then stuck it into the other end of the container. As soon as all completion of the can is shut, pierce the can a little in your wanted setting in few various places. This will certainly brought a beaten and battered search in the canister. Step 3 Base coat the fuel tank. After putting some designs onto the can its time to put shade to it. Merely skim coat the fuel tank with acrylic black paint. Make certain to base it a thin layer just for a couple of times. Placing a thick layer of paint in the fuel tank will cause major peeling of the paint. 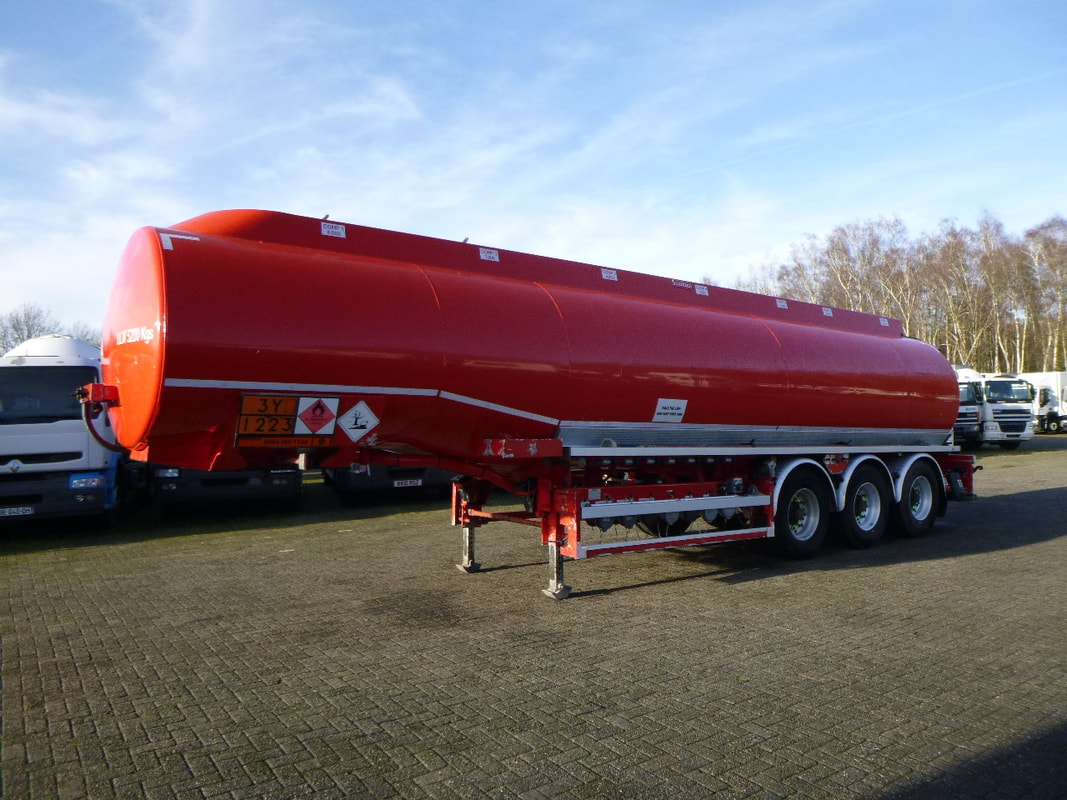 Step 4 Painting the fuel tank.
When the base coat is already dry its time to repaint the fuel tank with red gore or just red paint. Once more the painting must be gently since even more shades will certainly be included later on. I have actually picked to paint streaks in certain areas just. Next add some terracotta (brownish red). Lastly include bolt gun metal (silver gray) or mithril silver to offer the steel appearance. To stress the fuel tank as well as have a better location for it include a steel structure and also base for the fuel tank. It can be made with some Popsicle sticks and Styrofoam. The Popsicle stick will certainly be the steel frame as well as the Styrofoam will certainly function as the cement base for the fuel tank. Merely skim coat them with acrylic black. Repaint the concrete base codex grey and also the steel structure with the exact same paints used for the rust effects on the fuel tank. Step 5 Add some pipelines. Get some straws that can be bend on the other end as well as adhesive them together. Cut them to equivalent dimensions then glue them to one of the ends of the tank. On the foam board we used to change the missing end of the can. For the paint utilize the corrosion results on the pipelines also. Step 6 Flock it! This action completely completes it off. I made use of a blend of residence made modeling group, static lawn, sand, and also some weeds I pulled from a neighboring trench. Merely brush PVA glue (white glue) onto the components of the base you desire flocked. I additionally added group to the concrete block and also a little on top of the fuel tank.
0 Comments
Leave a Reply. |
AuthorI have been writing articles for the last 3 years and would say that my work can make an impact to others who have social anxiety. Archives
July 2022
Categories
All
|
 RSS Feed
